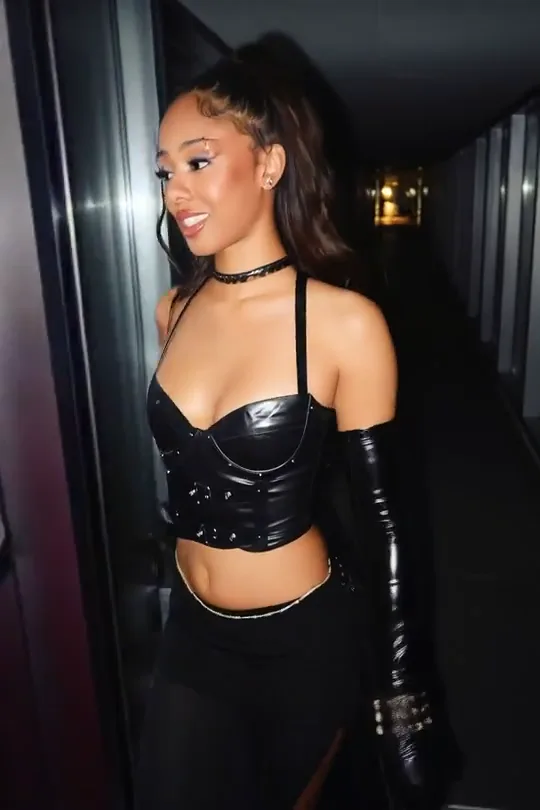
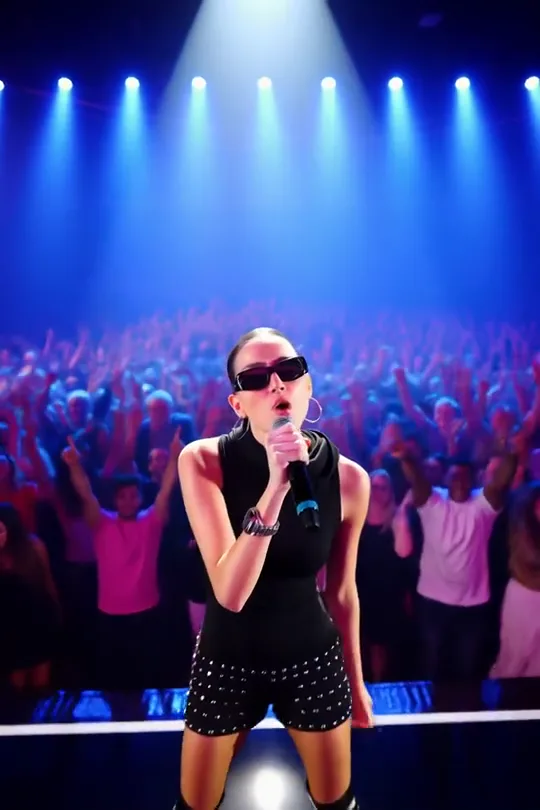

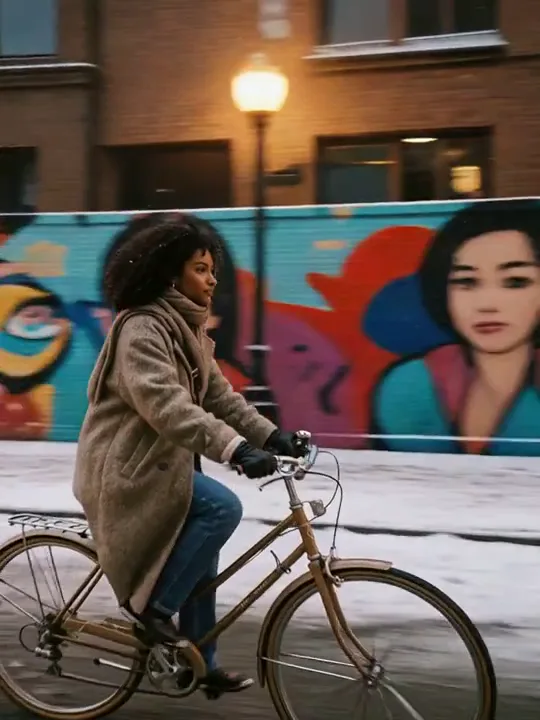


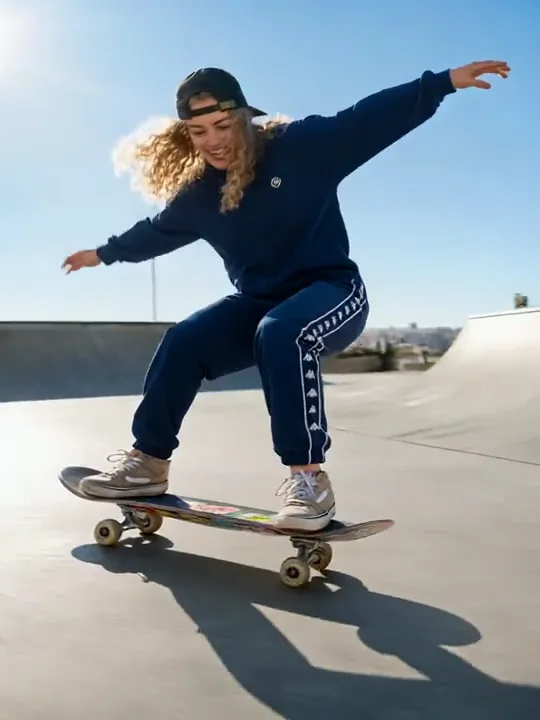

Kling 4.0 AI Video Generator
Bring your next scene into focus with Kling 4.0. Describe the shot, choose the available settings, and turn a clear creative direction into a video draft.
From an idea to a directed scene
Give Every Kling 4.0 Video a Clear Creative Brief
A useful Kling scene starts with a decision about what the audience should notice. Build that decision into the subject, action, and camera direction before adding visual effects. Keep the first Kling 4.0 brief narrow enough that you can explain what a successful result should look like.
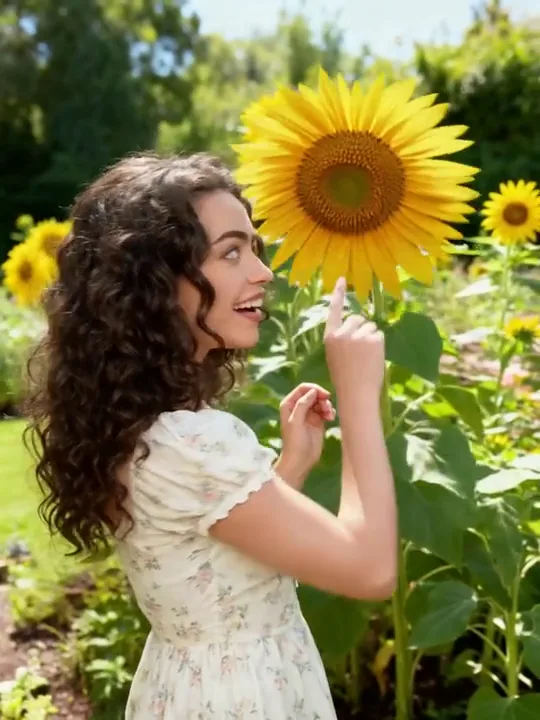
Direct a Kling Character Instead of Listing Adjectives
Give Kling a recognizable person, a specific place, and one action that matters to the story. A detective turning toward a window is a stronger starting point than several unrelated moods. Describe the clothing and light that should stay consistent, then explain how the subject moves. For a Kling 4.0 character scene, separate camera motion from body movement so the brief remains readable. When using an available image input, let the frame establish appearance while the prompt focuses on change. Review the expression, silhouette, and background before expanding the sequence into another shot.
- Establish identity, wardrobe, and location
- Choose one meaningful character action
- Keep camera and subject instructions distinct
- Review continuity before extending the idea
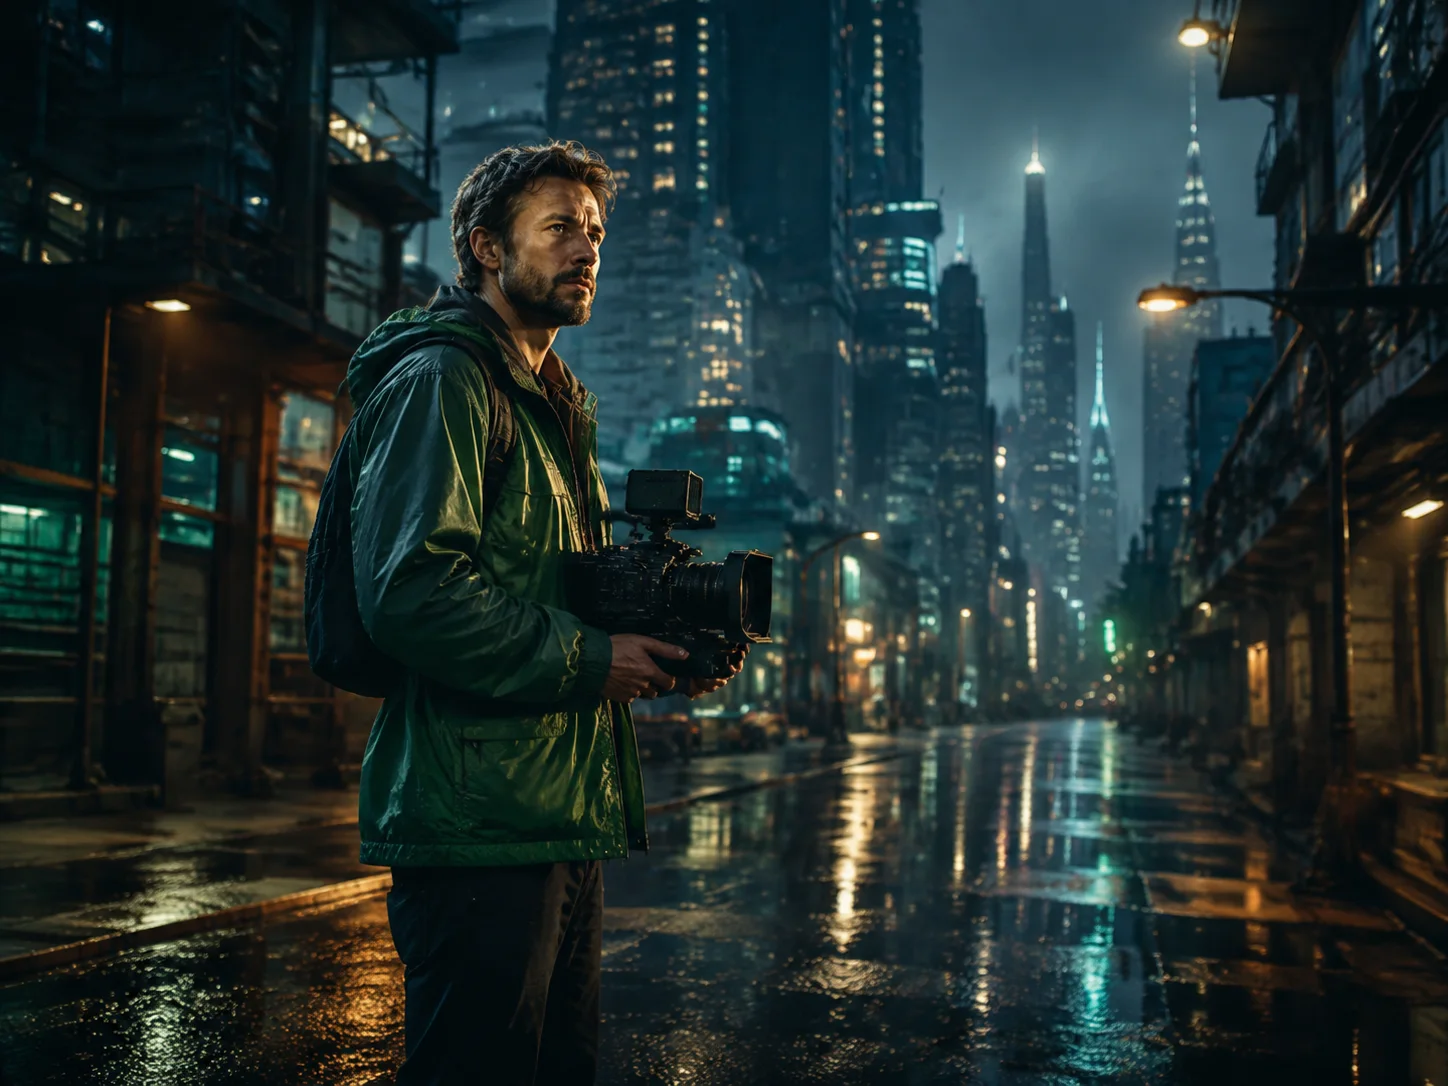
Build a Kling Product Reveal Around the Detail That Sells It
Decide whether the shot should reveal shape, material, or the way an object is used. Give Kling a clean surface and a deliberate lighting direction, then choose a controlled camera path rather than stacking several movements. A Kling 4.0 product brief can compare a quiet studio reveal with a more atmospheric setting while keeping the object itself unchanged. Leave exact logos, legal copy, and final typography for your editing workflow. Judge each Kling draft by how clearly the product reads at its intended viewing size, not by how many effects appear in the background.
- Make one product detail the visual priority
- Describe surfaces, highlights, and framing
- Compare one camera treatment at a time
- Reserve exact text for the final edit

Make the Opening Kling Moment Easy to Understand
Start a short clip with a subject the viewer can recognize immediately. Give Kling a readable foreground, a simple action, and enough space for motion to develop. For a Kling 4.0 social concept, choose the destination format before composing the scene so the main action does not depend on details near the edges. Compare an establishing shot with a closer view, keeping the underlying idea fixed. A successful Kling draft should communicate without an explanation beside it. Add captions, music, and finishing touches in your preferred editor after choosing the strongest visual direction.
- Place the main action where viewers will see it
- Compose for the intended aspect ratio
- Compare opening frames without changing the story
- Finish captions and sound in your editing workflow

Keep Your Kling 4.0 Creative Decisions Together
Work from a brief you can evaluate, not a list of promises. The Kling workspace brings preparation, available generation controls, and result review into the same process.
A Kling Prompt With a Visible Purpose
Organize a Kling prompt around subject, action, setting, camera, and light. This order makes competing instructions easier to spot before submission. Keep the scene understandable on its own, then add style only where it helps the story. A focused Kling 4.0 brief also gives you a practical checklist for judging the result.
Kling Controls That Follow Your Selection
Choose the available model and inspect the inputs and options the generator actually displays. Duration, format, reference inputs, and other settings can vary between selections. Check those controls before starting a Kling render rather than assuming every option is interchangeable. Confirm the displayed credit requirement whenever you change the configuration.
A Deliberate Kling Revision Loop
Review the Kling result against your original visual priority. If the framing works but the movement does not, revise movement without replacing the whole concept. Keeping useful decisions stable makes successive Kling 4.0 drafts easier to compare. Save your strongest prompt and settings beside the result you intend to keep.
How to Create a Kling 4.0 Video
Move from a specific shot idea to a reviewed draft in three steps. Use the same Kling workflow for a first concept and for a focused revision.
- 1
Write the Shot Brief
Tell Kling who or what appears, what changes during the shot, and how the camera observes it. Prepare a clear reference when the selected mode supports one. Remove instructions that compete with your main visual idea.
- 2
Check Settings and Generate
Select the available Kling option, review its supported controls, and confirm the credit total. Sign in when required, then submit once. Follow the existing progress display instead of creating duplicate requests while the render is processing.
- 3
Review, Refine, and Save
Watch the Kling 4.0 draft for subject continuity, readable motion, and useful framing. Change one weak instruction for the next attempt. When a result fits your brief, use the available download action and continue finishing it in your editor.
How do I start a Kling 4.0 video?
Begin with a short brief that names the subject, the action, and the setting. Add a camera direction only when it helps explain the shot. Open the Kling generator, choose the available model and settings, and check any input requirements before submitting. Your first attempt should answer one creative question, such as whether the movement or composition suits the story.
What makes a useful Kling prompt?
Concrete details are easier to evaluate than a long stack of quality adjectives. Describe a person walking through a rain-lit station, for example, then specify a steady side view and soft reflections. Keep the Kling action physically understandable and avoid asking for several conflicting camera moves. Use the first result to decide which instruction needs refinement instead of rewriting everything at once.
Can I use an image in a Kling 4.0 project?
Use an image when the selected Kling mode displays a supported image input. Choose a reference with a clear subject and an uncluttered composition, then describe what should move rather than repeating every detail already visible. Follow the uploader’s format and size requirements. Different model selections can expose different controls, so inspect the workspace before planning a reference-dependent scene.
How should I describe camera movement?
Give Kling one main camera instruction, such as a slow push toward the subject or a fixed view as the action crosses the frame. Explain subject movement separately. Avoid combining an orbit, a zoom, a pan, and a scene change in one short request. Review the resulting Kling shot for readable framing before adding a more complicated camera treatment.
How do I keep a character recognizable?
Keep identity details stable between attempts: appearance, wardrobe, relative scale, and the visual environment. When supported, use a clear reference rather than asking the prompt to recreate every facial detail. Change one Kling instruction at a time and review the face, clothing, and silhouette. Continuity is a review task as well as a prompt-writing task; do not assume every draft will match perfectly.
Which settings should I choose?
Start with the settings that match the intended placement and the inputs you actually have. Read the controls shown after choosing a Kling model; supported duration, aspect ratio, audio, and reference options may differ. Do not treat a feature mentioned for another selection as a guarantee for the current one. Check the displayed credit total after changing any option.
Is Kling 4.0 generation free or available without login?
The page can be explored without committing to a render, but model access and generation costs follow the workspace’s current account and credit rules. Check the selected Kling option and the displayed total before submission. A free starter workflow does not make every dedicated model free, and opening the page without login is different from submitting an account-based generation.
How long will my Kling video take?
Processing time depends on the selected option, the request, queue conditions, and provider response. Follow the progress shown for your submitted Kling task rather than relying on a fixed timing promise. Avoid resubmitting simply because a result is not immediate. If an error appears, read the message and check the task state before deciding whether a new attempt is necessary.
Can I create product videos with Kling 4.0?
Plan a product scene around one visible detail: a material, a silhouette, or a simple demonstration. Give Kling a clean setting and a controlled camera direction. Review object shape, reflections, and scale before using the clip in a finished piece. Add exact logos, disclaimers, prices, and typography during editing, where their appearance can be checked precisely.
What should I check in a finished draft?
Compare the result with the original brief. Check whether the subject stays recognizable, the intended action reads clearly, the camera remains useful, and the background does not distract. Watch the beginning and ending as well as the strongest middle moment. Keep the parts that work in your next Kling request, and describe the specific defect you want to change.
How do I download a Kling 4.0 result?
When a generation succeeds, use the download action provided in the result panel. Review the clip first, then save the version you want to take into an edit. Keep a record of the Kling prompt and settings with the file so you can reproduce the creative direction later. Follow any availability notices associated with the output link.
How can I make the next attempt more useful?
Choose one revision with a clear reason. If the Kling framing works, keep it; if the subject action is unclear, rewrite that instruction alone. Compare the next draft with the previous one against the same criterion. This approach turns a Kling 4.0 session into a sequence of deliberate decisions rather than a collection of unrelated renders.